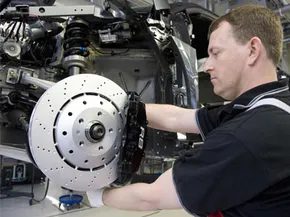
Factory certification is not required to replace the brake pads. The tool kit needed for the job is minimal and usually already in the garage. You can easily buy certain products from home hardware stores and auto parts dealers.
Basic toolkit
The C clamp is the most important here. It presses into the caliper in and push the piston back to the rest position. This will give you room to slide in the new, thicker pads.
Note: Some vehicles, especially newer models and vehicles with electronic parking brakes, require a special caliper tool to retract the pistons. Be sure to check your vehicle’s specific requirements before you begin.
You also need a wrench for the caliper bolts. Depending on the manufacturer, you may need an Allen key or a Torx screwdriver. When removing the wheel nuts, you should use a spanner, but you can also lift the car with a spanner first.
Do not jump over safety devices. Gloves protect your skin from brake fluid and dirt. Dust masks cannot be ignored to prevent brake dust from entering the lungs. Goggles protect your eyes against flying metal fragments and splashes.
The price of doing it yourself
New brake pads are an obvious spare part. The old stuff is worn out. The couple stopped the car.
Most do-it-yourselfers already have the tools listed above. This makes it easier for weekend mechanics to service the brakes. The parts themselves are reasonably priced. A standard set of single-axle replacement pads typically costs $40 to $100. You can find it at your local store or online.
The next step is to remove the old pad. This process is explained in the next section.